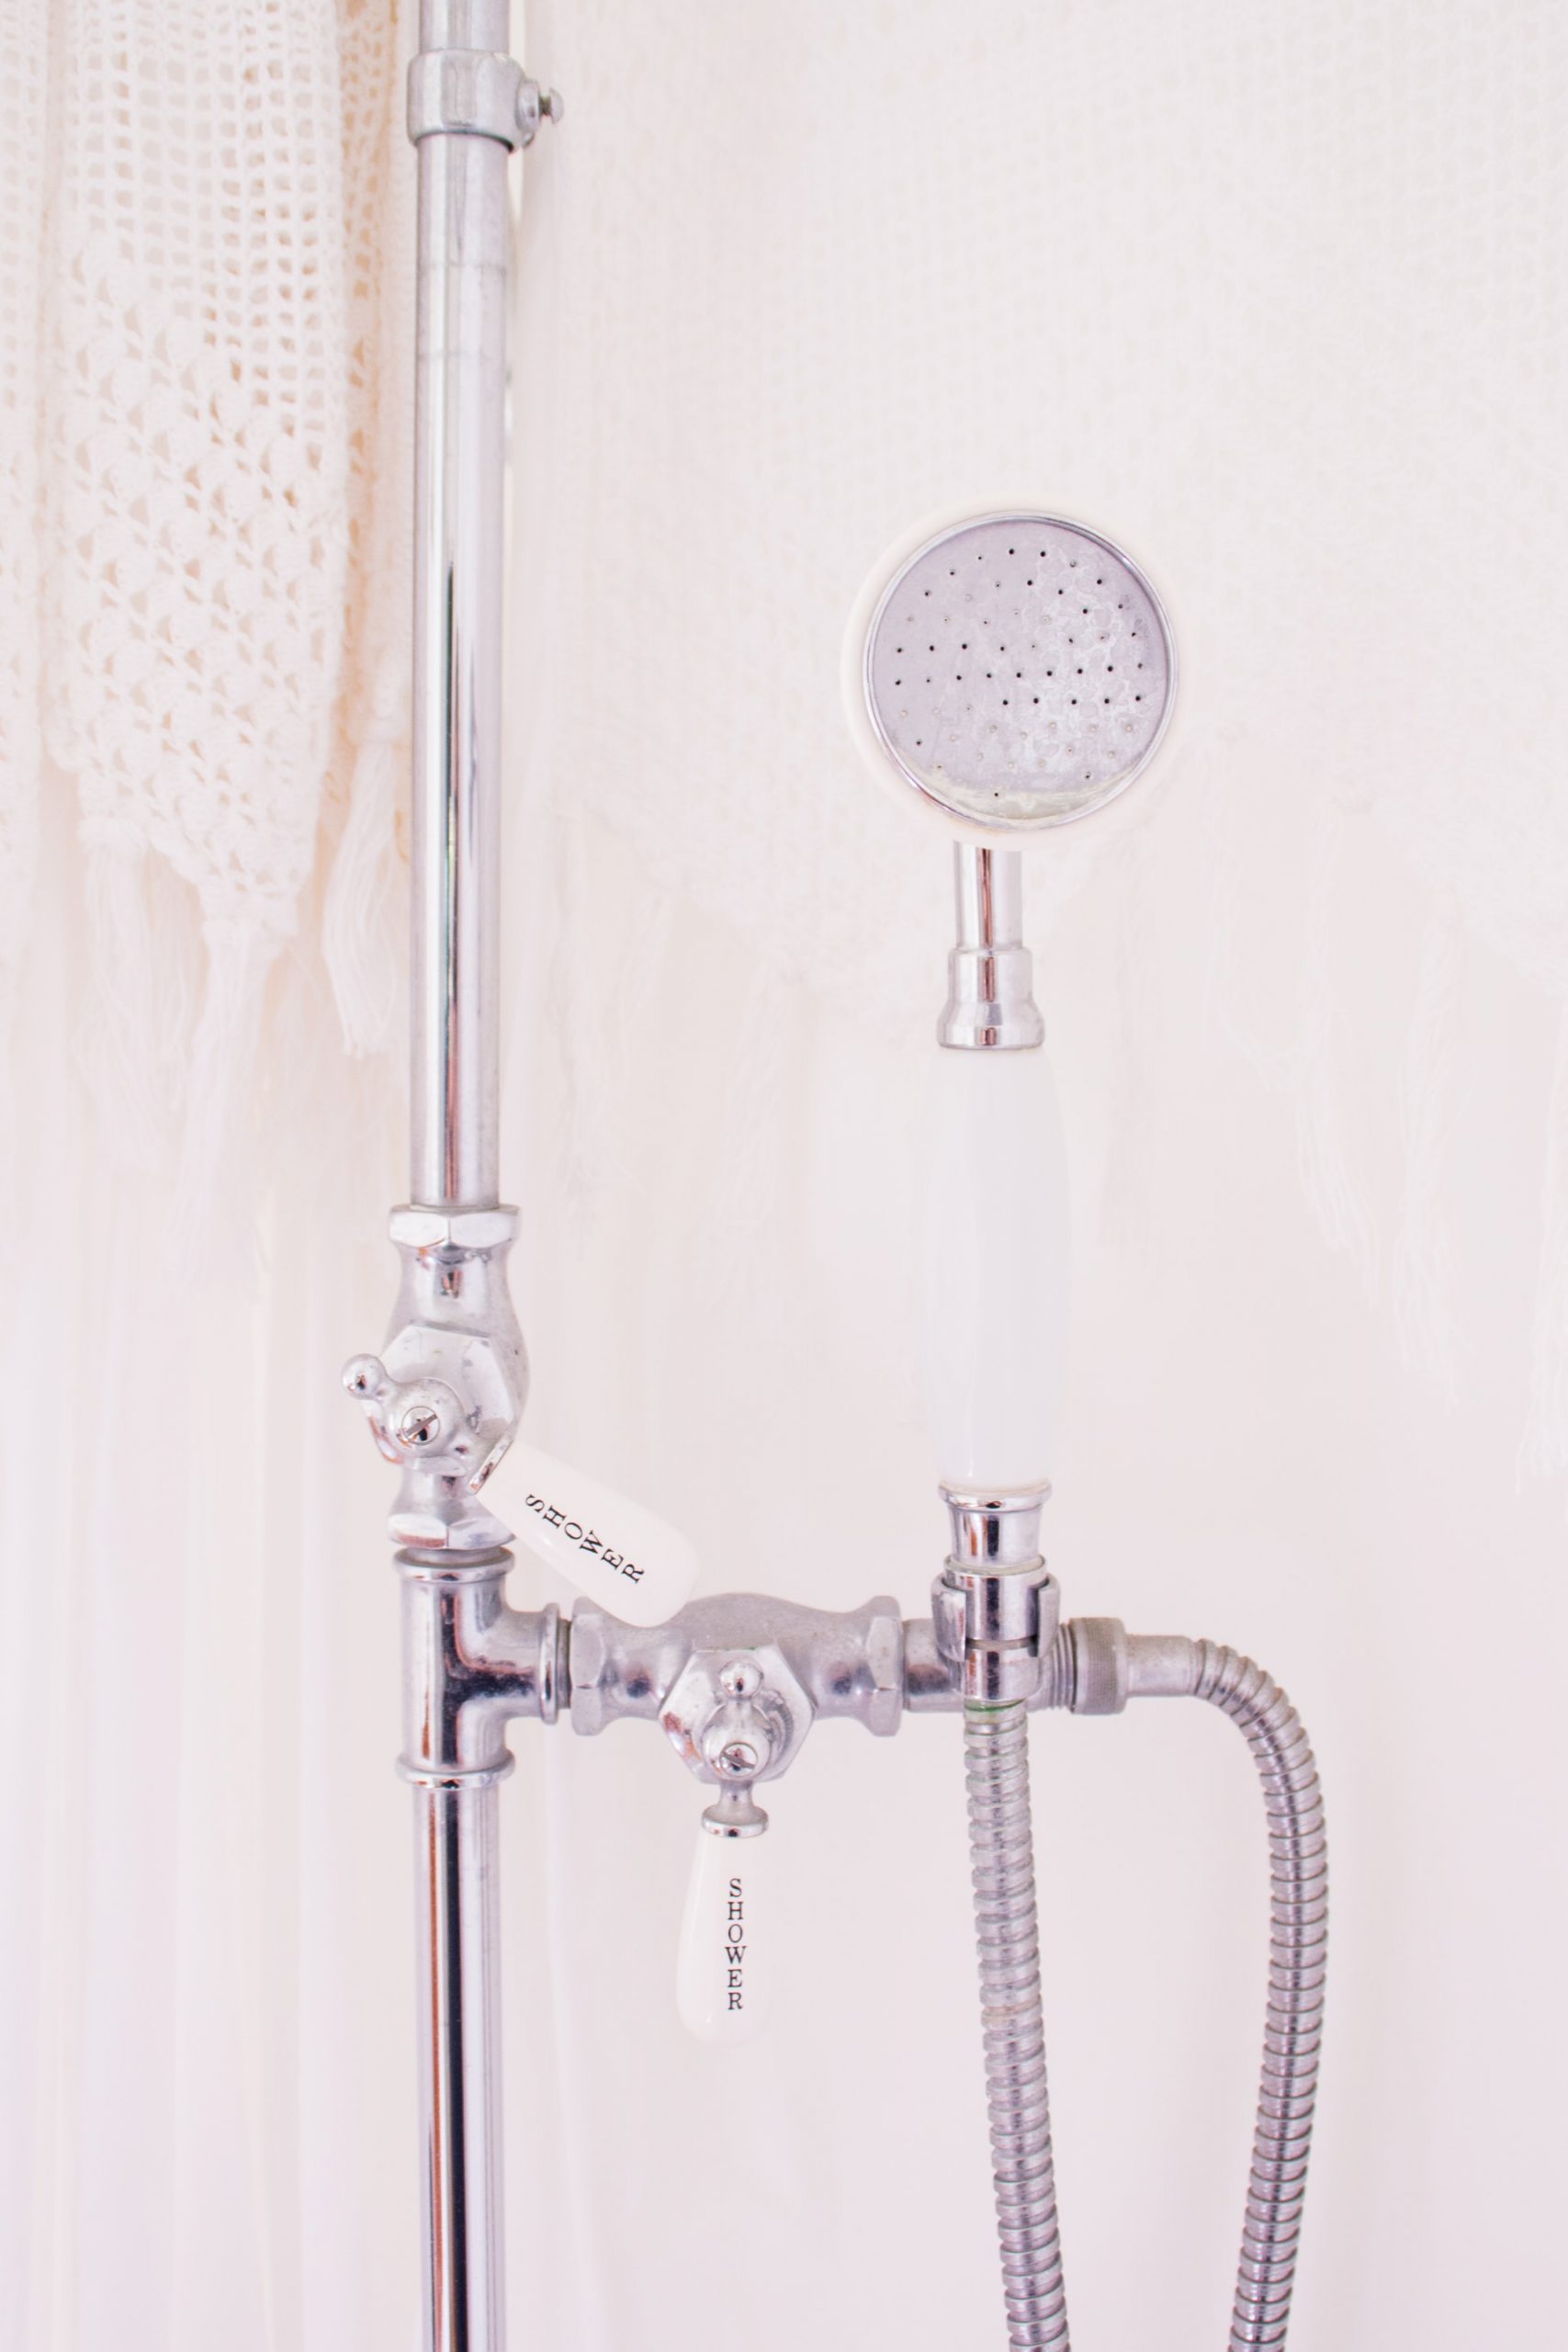
When it comes to learning how to clean a flexible shower hose there is a lot of information out there that isn’t very useful, but luckily you have come to the right place.
Our personal recommendation is to use a mixture of vinegar and water to clean a flexible shower head, as this will disinfect and remove any limescale as well as give the entire system a good clean.
Let’s jump straight into the method, and afterwards, we can look at some tricks and tips that you can use to maintain a clean flexible shower head as well as a clean shower in general.
Cleaning A Flexible Shower Hose: 5 Easy Steps
Follow the 5 easy steps below and your shower hose will work like new in no time at all.
Bear in mind that for this method to work you need a container that can hold the shower head and hose entirely. Something like a large bowl or plastic container would work well for this.
1. Remove Shower Head And Hose
To begin, remove the shower head and hose.
The head should come off easily by twisting, using a rag if necessary to improve grip. Some shower heads will ‘pop’ off as well, and you might need to use a dull knife to get underneath the seal to remove it.
Once the head is removed the hose can be removed by simply unscrewing it from the control unit. This can be done by hand and rag, or with a pair of plyers if it is particularly tight. Once you have unscrewed both parts you are ready to move on to the next stage.
2. Mix The Vinegar Solution
To create the solution, mix equal parts of white vinegar and water in a large container. Once mixed, stir in a few cups of baking soda in a ratio of one cup of baking soda to 3 cups of distilled white vinegar, as needed for your container.
Baking soda can be used for loads of applications, and baking soda and vinegar complement each other to create a strong cleaning solution that will get rid of dirt and limescale.
3. Add To Solution And Leave For 12-24 hours
Now the solution has been prepared simply add the head and hose to the solution – fully submerged – and leave for 12 to 24 hours. If you have a chrome finish on your shower, then read the next point very carefully.
Be Careful With Chrome Finishes
If you have a chrome finish, then we recommend diluting the vinegar with one part to three parts of water and lowering the soak time to a maximum of 15 minutes.
This is because vinegar can cause damage to chrome finishes if left for an extended period of time, or in a high concentration.
4. Rinse And Scrub
Once the time is up remove the parts and wash them with fresh water, paying attention to rinse the inside of the shower hose thoroughly.
After rinsing take an old toothbrush and scrub the shower head and the outside of the shower hose, as well as both holes on either side. To clean the inside of the shower hose, you can use an old rag that can be wrapped up and placed inside. You can then twist the rag, or shower hose, to roughly clean the inside surface.
Another option includes a tall and narrow brush, similar to a toilet brush, that you can buy at most hardware stores.
Rinse through again after scrubbing with water and leave to dry on a clean towel.
5. Reattach
Once the scrubbing process is complete your shower hose and head should both be looking brand new.
Reattach the hose first, followed by the shower head, by screwing them in until tight.
When Is It Time To Clean A Shower Head?
Knowing when to clean a shower head can save you a lot of headaches in the long run – the last thing you want to do is wait until no water can pass through at all.
Here are a few key indicators that it might be time for a clean.
Changes In Water Pressure
If you notice that your shower suddenly has a change in water pressure this can be a sign that the head, and hose, needs to be cleaned.
If there is a blockage to the flow of water from limescale this can make the water either have higher or lower pressure, which should be addressed sooner rather than later.
Water Flowing In Random Directions
I think we have all experienced turning the shower on and the individual streams of water fire off in random directions, sometimes even out of the shower area completely.
This is not only frustrating but also a telltale sign that some of the holes on the shower head are partially blocked up. If you notice this happening then it is about time to give the shower head and hose a much needed clean.
FAQs
We’ve rounded up some of the other most commonly asked questions around shower hoses and heads below to give you more of an insight into the topic.
Can Plastic Shower Heads Be Cleaned In The Same Way?
Plastic shower heads are perfectly suitable for the vinegar solution, so you don’t have to worry if you have one.
Can Vinegar Damage Chrome Shower Hoses And Heads?
Chrome is susceptible to vinegar, which is why we recommended in step 3 to dilute the vinegar further with 3 parts water whilst reducing the soaking time.
Keep this in mind before you start the cleaning process and you should have no problems at all!
Final Thoughts
Knowing how to clean a flexible shower hose can come in handy more often than you would think – just be careful with chrome finishes.
If you have any other suggestions or tips for cleaning a flexible shower hose then please let us know.
